I started to create the Environment for my scene, It in space and set in an asteroid field so i used the technique i had previously worked out to create my Asteroid, by creating a cube and pressing smooth geometry i could create some really cool looking asteroids, For asteroids that i want fairly high detail on i smoothed the objects several time, for asteroids that were going to be in the background they were only smoothed once, this was because i didnt want to face too many polys when it came to rendering
Low poly asteroid

Higher Poly asteroid

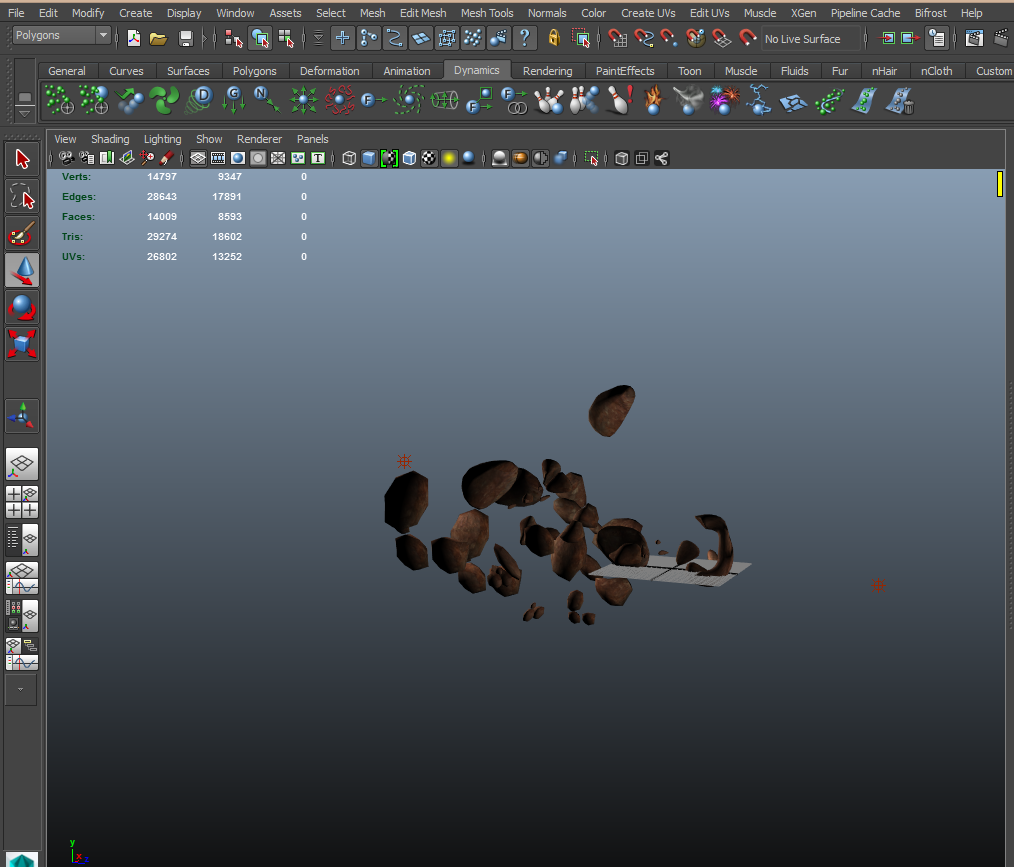
I then Positioned the asteroids in the scene to create an asteroid field, Some of the asteroids are grouped together and duplicated and just rotated around, hopefully this wont be too evident in the final animation.
Adding the sky dome
I created a sphere and applied a space texture that I got from the internet the source is here : http://taketo-take-to-stock.deviantart.com/art/Classified-Triplet-Starfield-CGCASF-352643598
I then reversed the normals so that they were facing on the inside,and applied the texture. By using the x ray function i was able to make it so that you could see inside the sphere this proved really useful when trying to arrange my asteroids but i kept selecting the sphere by mistake to combat this I put it on a separate layer so that i could toggle it on or off.

by creating a sphere and adjusting its transparency in the attribute editor. Then placing a point light inside that sphere I was able to create some really cool looking stars. The effect looks really realistic and am really pleased.
 |
| Light Inside sphere |
 |
| Final result |
 |
| The Finished environment |
No comments:
Post a Comment