First impressions of Maya 3D Modelling software
When i first opened Maya and was presented with the UI, I was quite bewildered by its intricacy.
The user interface is very complex and thorough and although familiar with working in virtual 3D environments ,through working in game engines like "Unity", I was none the less quite intimidated. After a little fiddling around I was able to create simple 3D objects and move them around within the environment. Again it felt quite familiar as the the way Maya does this is quite similar to "Unity".
Exercise one - Steering Wheel
The first exercise was to create a ship steering wheel, Although in hindsight the task was relatively easy I found it difficult to follow the activity, and found myself accidentally clicking on or selecting unintended functions . Once I was able to get a grasp of the different keyboard shortcuts my work flow improved and I managed to complete the task.
How I made the steering wheel
1) First i created a cylinder and changed its "Subdivision Axis"to 5 this created the center piece.


2) Then i added a cylinder that extrudes outwards to each of the 5 faces. This is how i made the struts of the wheel.
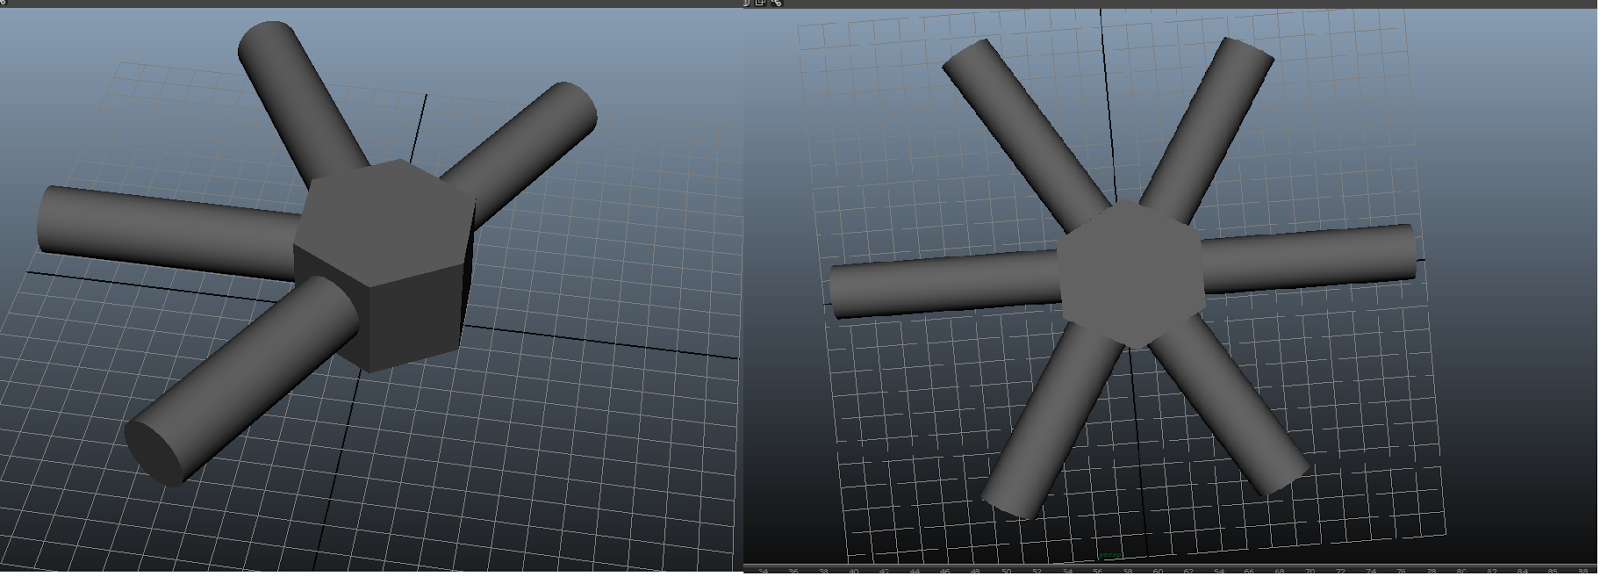

3) Finally i created a torus shape at the center and scaled it up so that it would link all the struts together. i also added some more shaped to improve the overall look at aesthetic.

Thoughts on exercise.
Overall I enjoyed this exercise. Initially I found quite difficult to navigate the UI , however after a while I found it got easier. I found it quite similar to creating object within the unity game engine and was quite pleased with the end result. Trying to make sure all the struts were the same length was quite difficult however.
Exercise Two - Low poly house
The second exercise was to follow a tutorial and create a low poly house. This exercise I found a lot more tricky than the first. In this tutorial I learnt some new techniques. I learnt how to select and extrude faces on objects to "Block out" my model. I also learnt how to joining verities and creating divisions on faces as-well.
Things I found hard
- The bevel process- I found it quite difficult when creating the lip that runs around the house below the roof. I was unable to match the settings in the tutorial exactly and as a result my end result doesn't look precisely like the tutorial.
- Linking edges to form roof - It took me several attempts to match the roof layout shown in the tutorial and I was unable to get the vertices joined on my first go and only after many try's did figure it out.
No comments:
Post a Comment