SlaveI
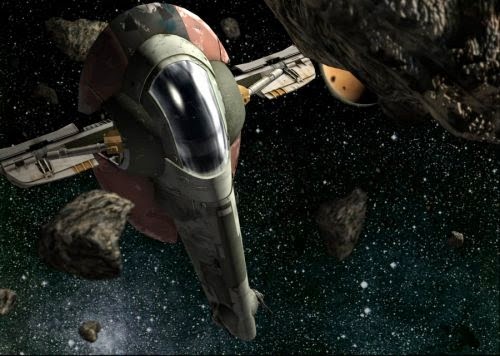
Having created two really iconic space ships from the star wars universe, i wanted to create a more complex one as my other two model have turned out really well. So i decided to create SlaveI or Boba-fetts ship. I thought this would be a bit more of a challenge because the ship is quite curved. this would also be quite a contrast from both the Tie fighter and Xwing which are ,themselves very angular.
 |
| Slave I |
.png) |
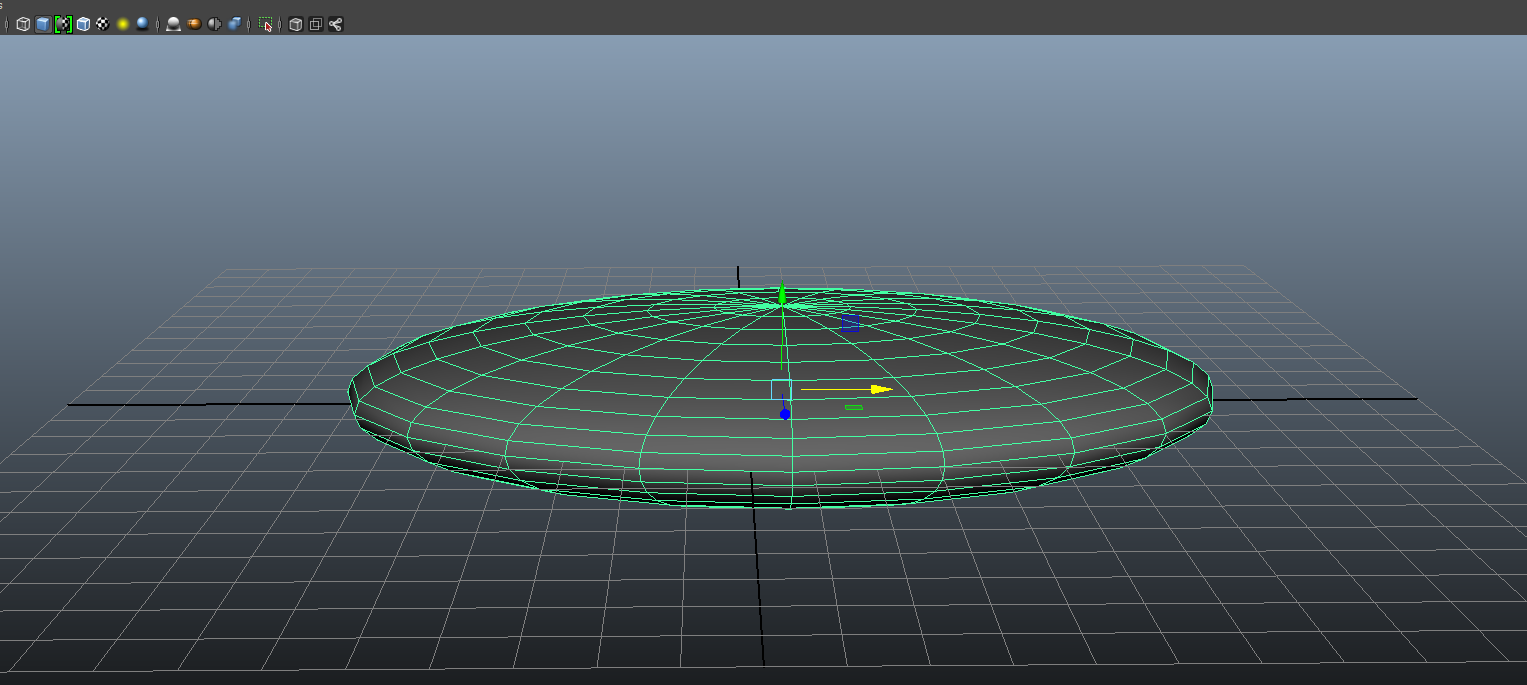
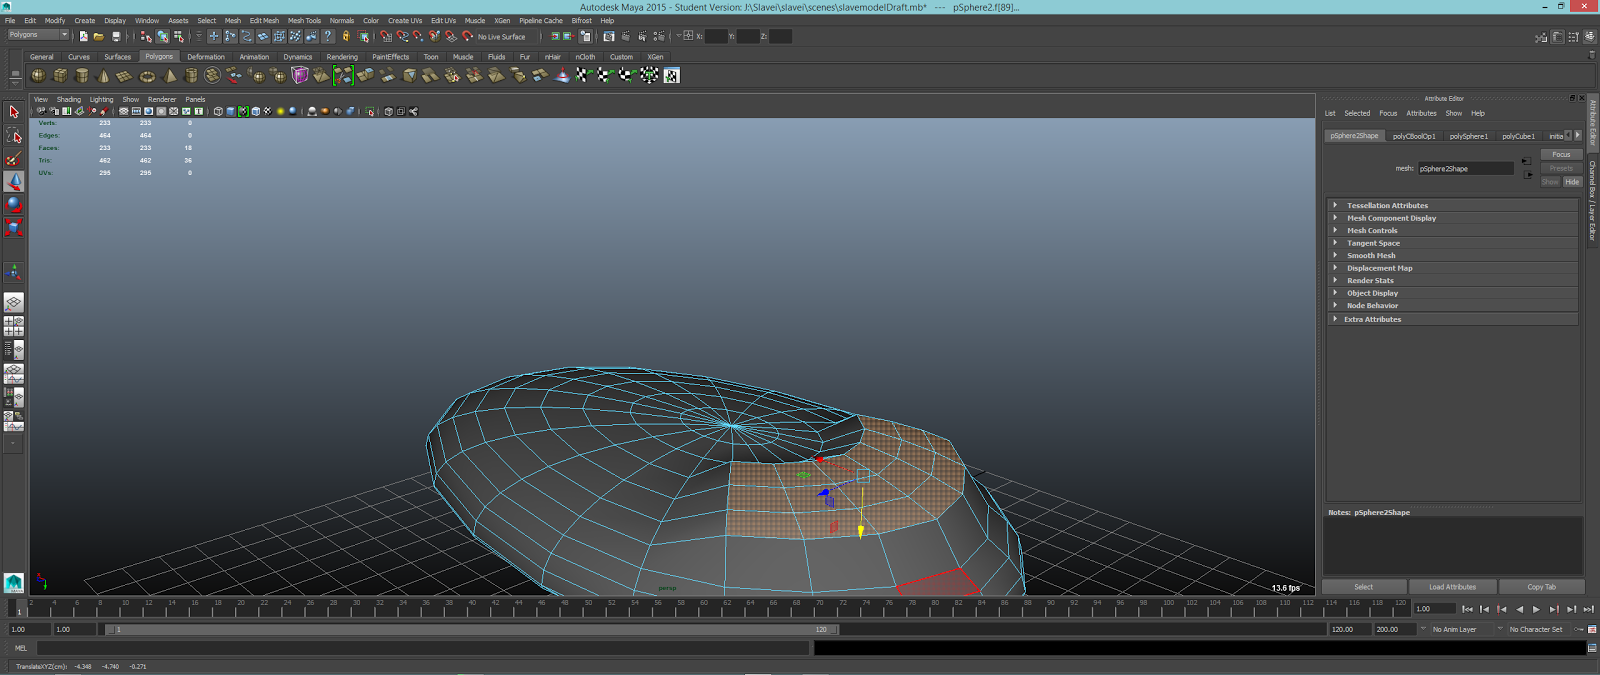
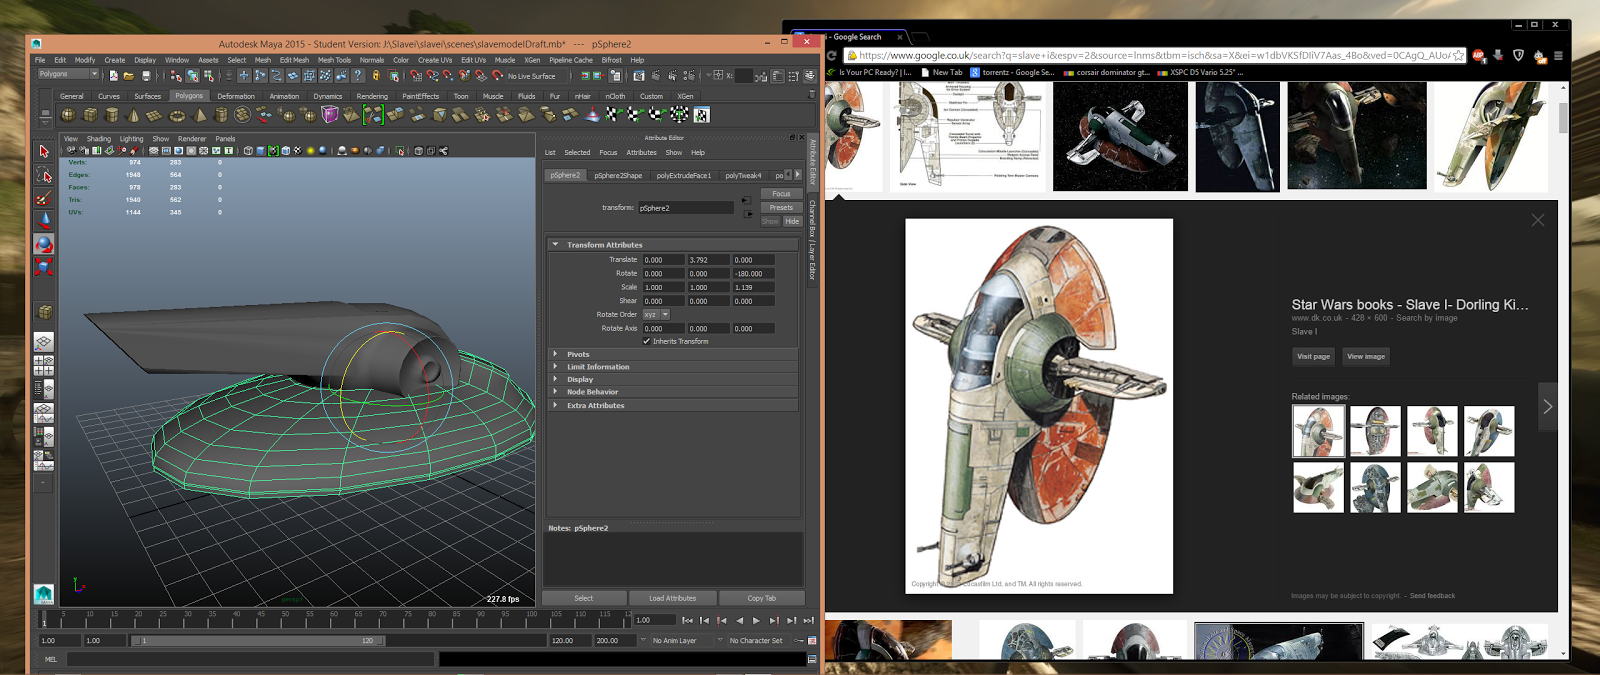
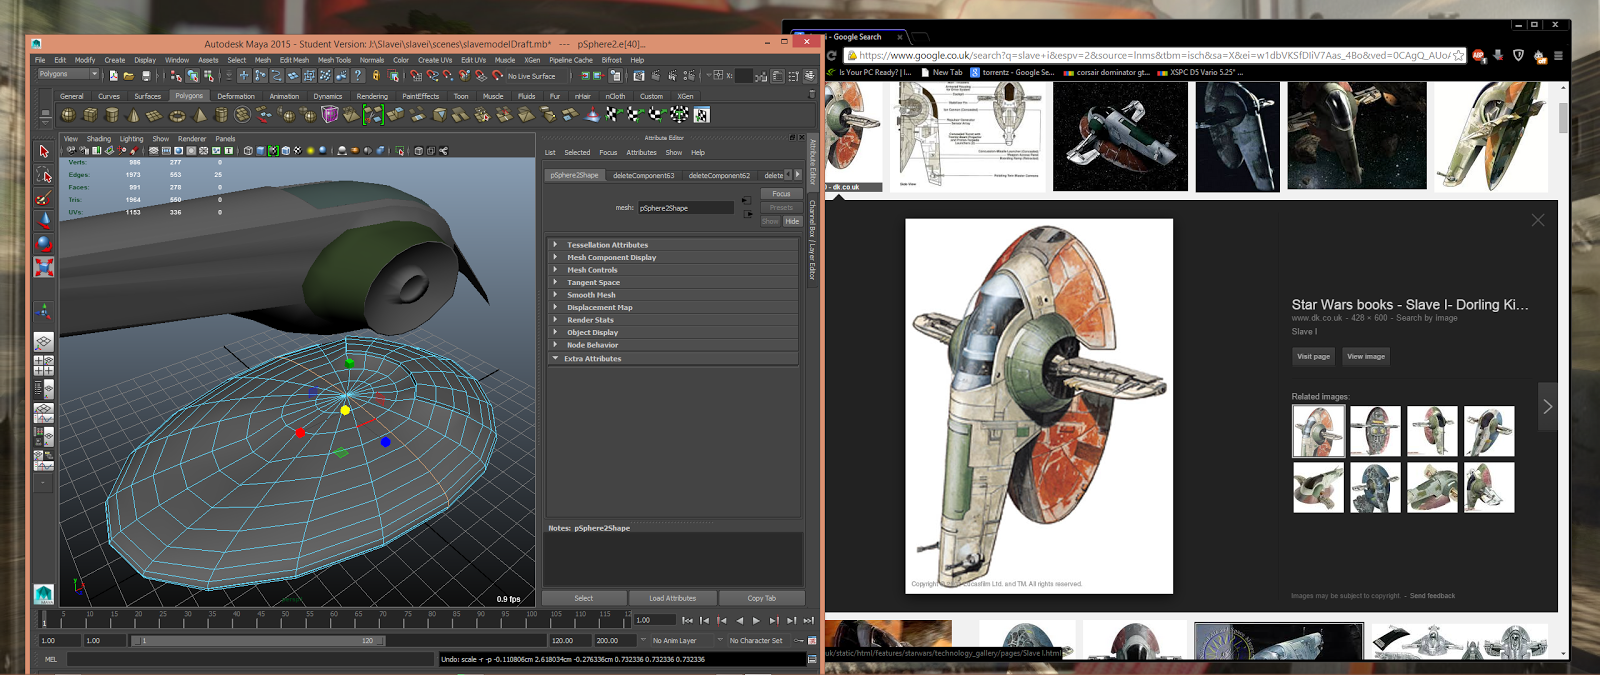
Firstly i created a sphere, which I flattened to make the base.
I was able to replicate the optical base of the craft this way, however the poly count of this object was quite high, in future i would perhaps try to optimise the object by reducing the number of faces. |
 |
| Then using a cube and the Boolean - Difference tool i cut away the bottom so it was flat on one side |
.png) |
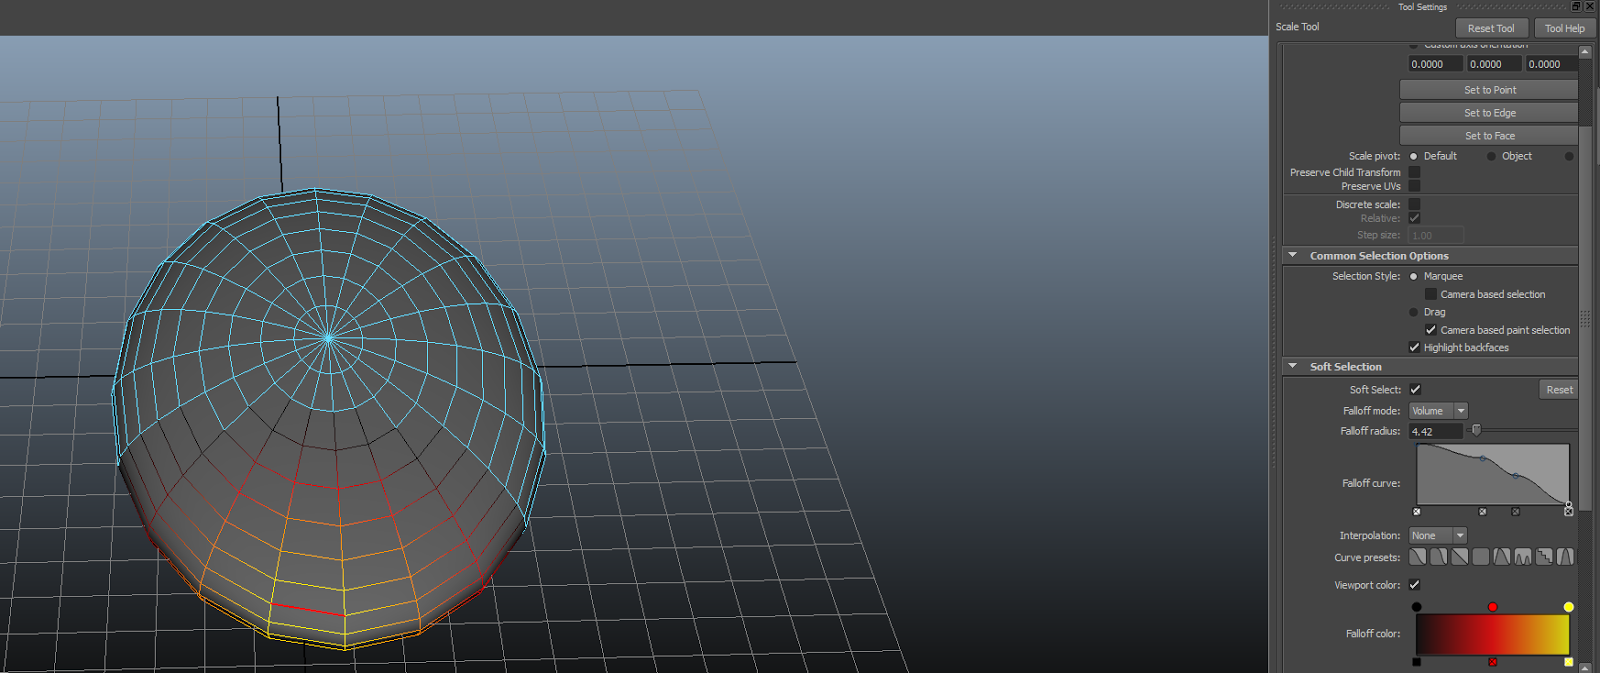
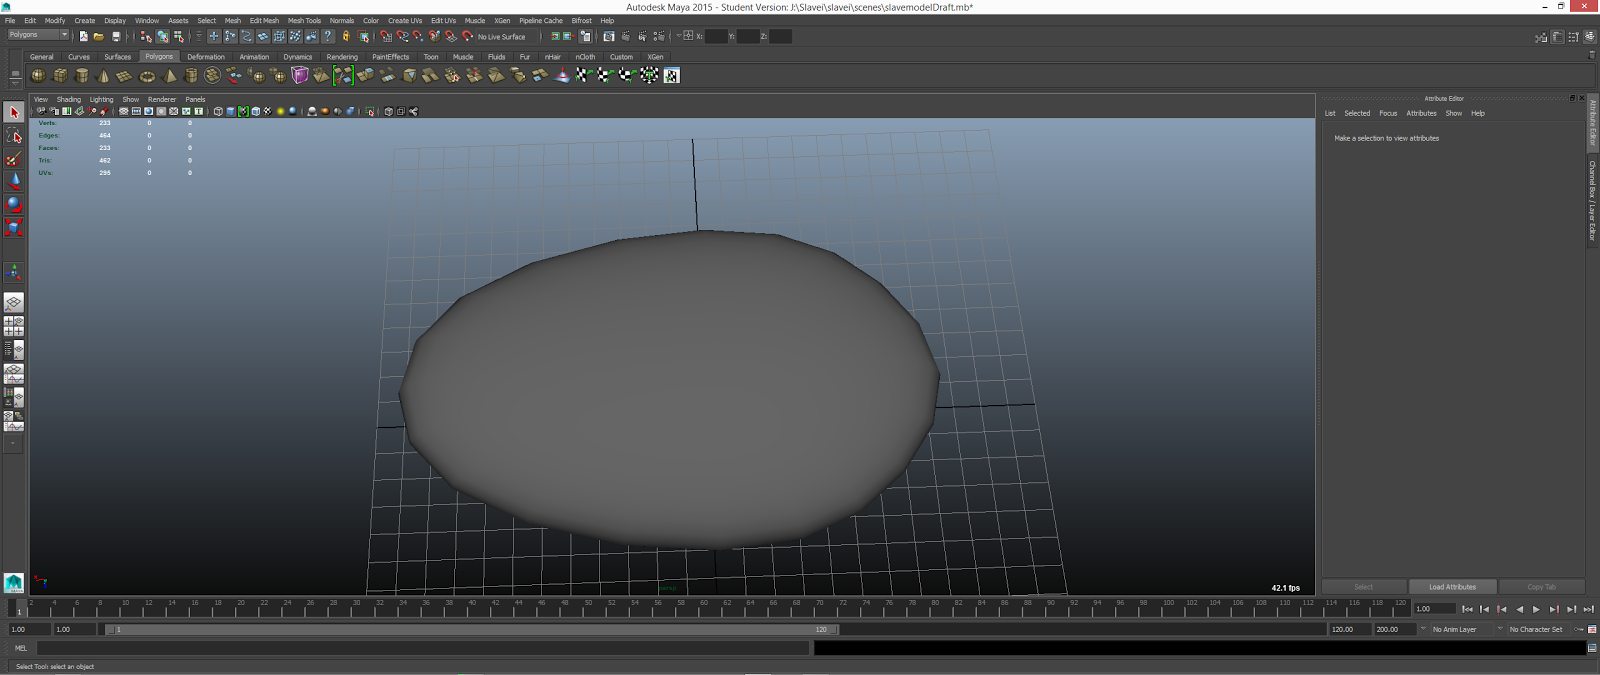
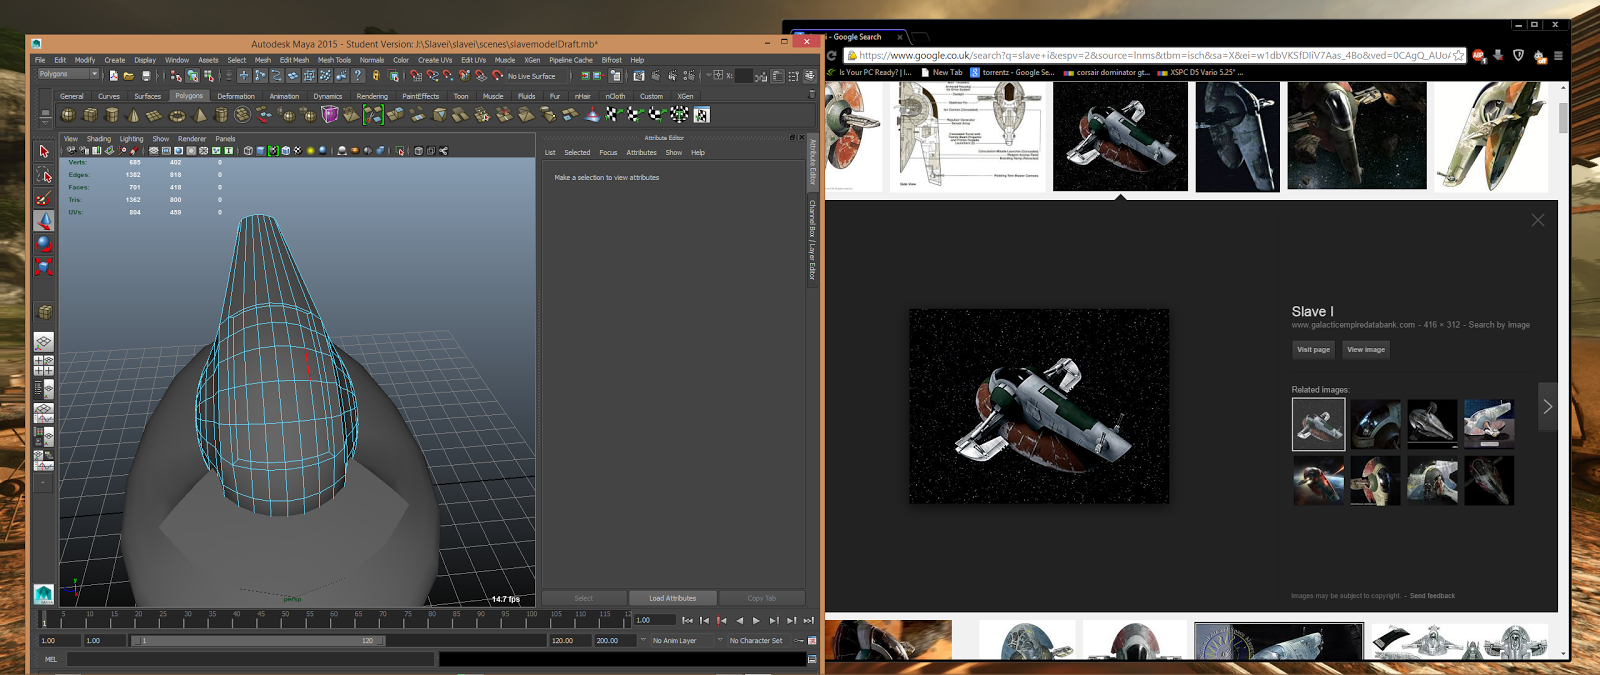
| Then to create the oval shape, i used the soft select tool which i accessed by double clicking on the scale tool and ticking the corresponding check box, this enabled me to just scale down one of the tips, giving me the desired egg shape below. This tool was a godsend! I discovered it by accident by accidentally double clicking on the scale tool. It was very simple to use and |
.png) |
| Egg/oval shaped base |
.png) |
| I then selected these faces and dragged them upwards to add shape to the base. |
.png) |
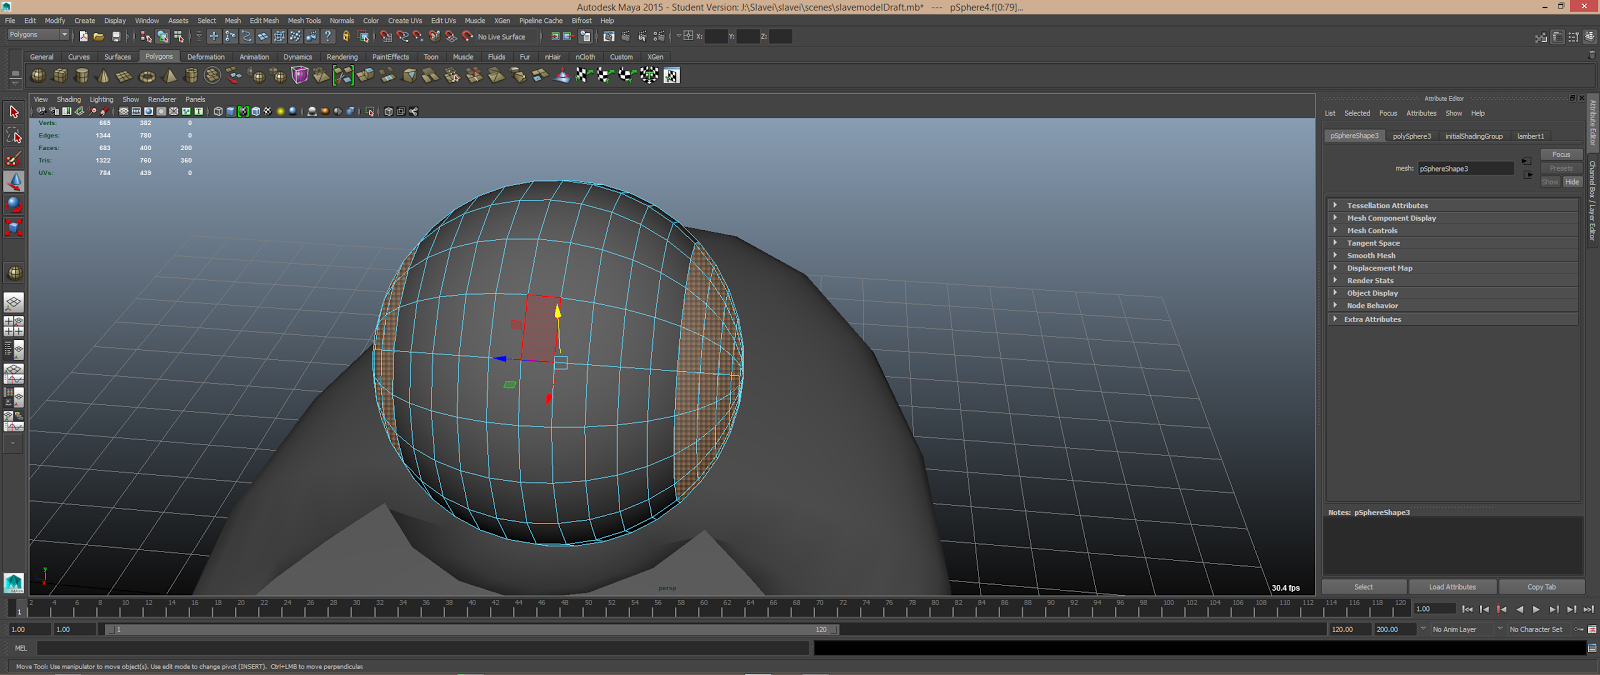
| I then added a sphere and fit it into the crescent area i had just created |
.png) |
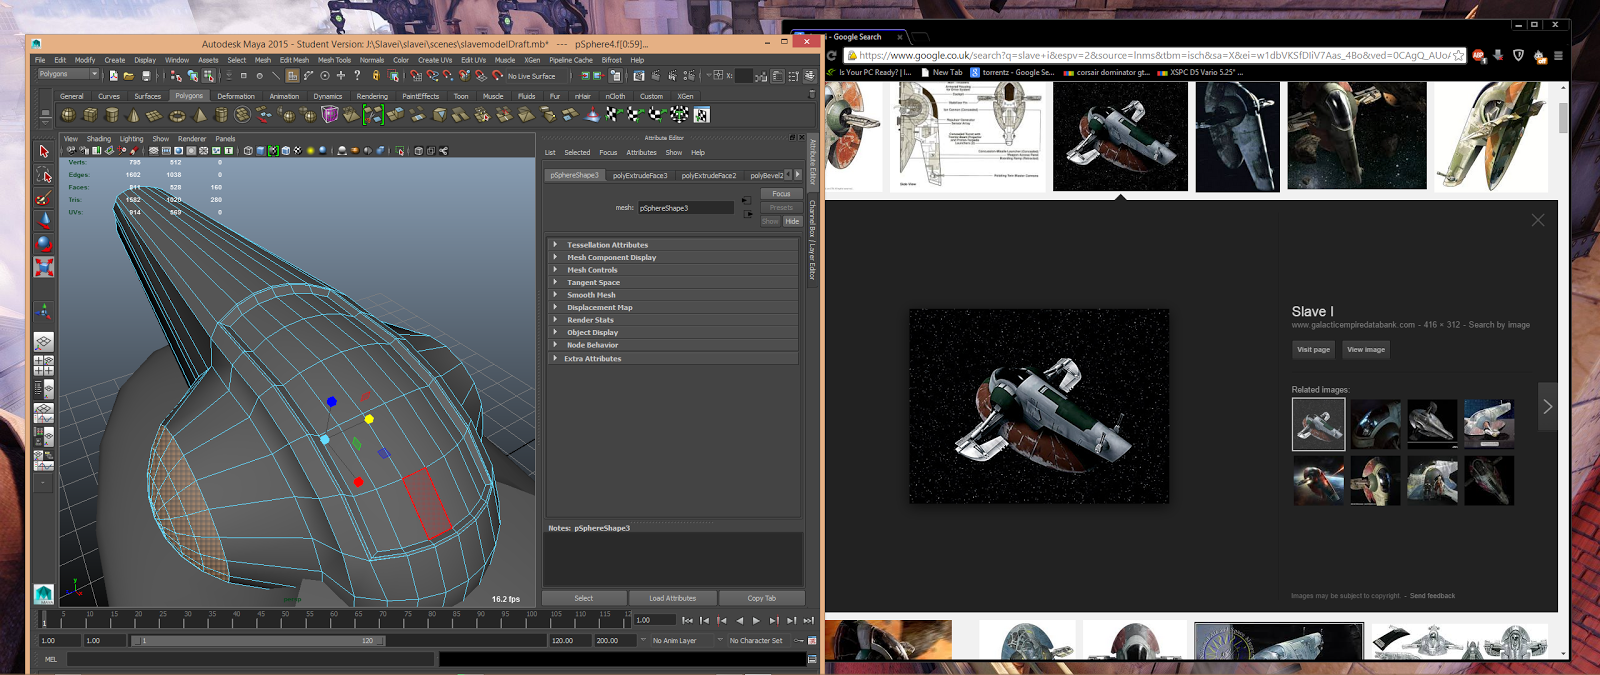
i then scaled the sphere so it was longer and thinner. this will be used to create the curved cockpit. I then selected some faces on one end and dragged them out to make the main body part of the ship.
|
.png) |
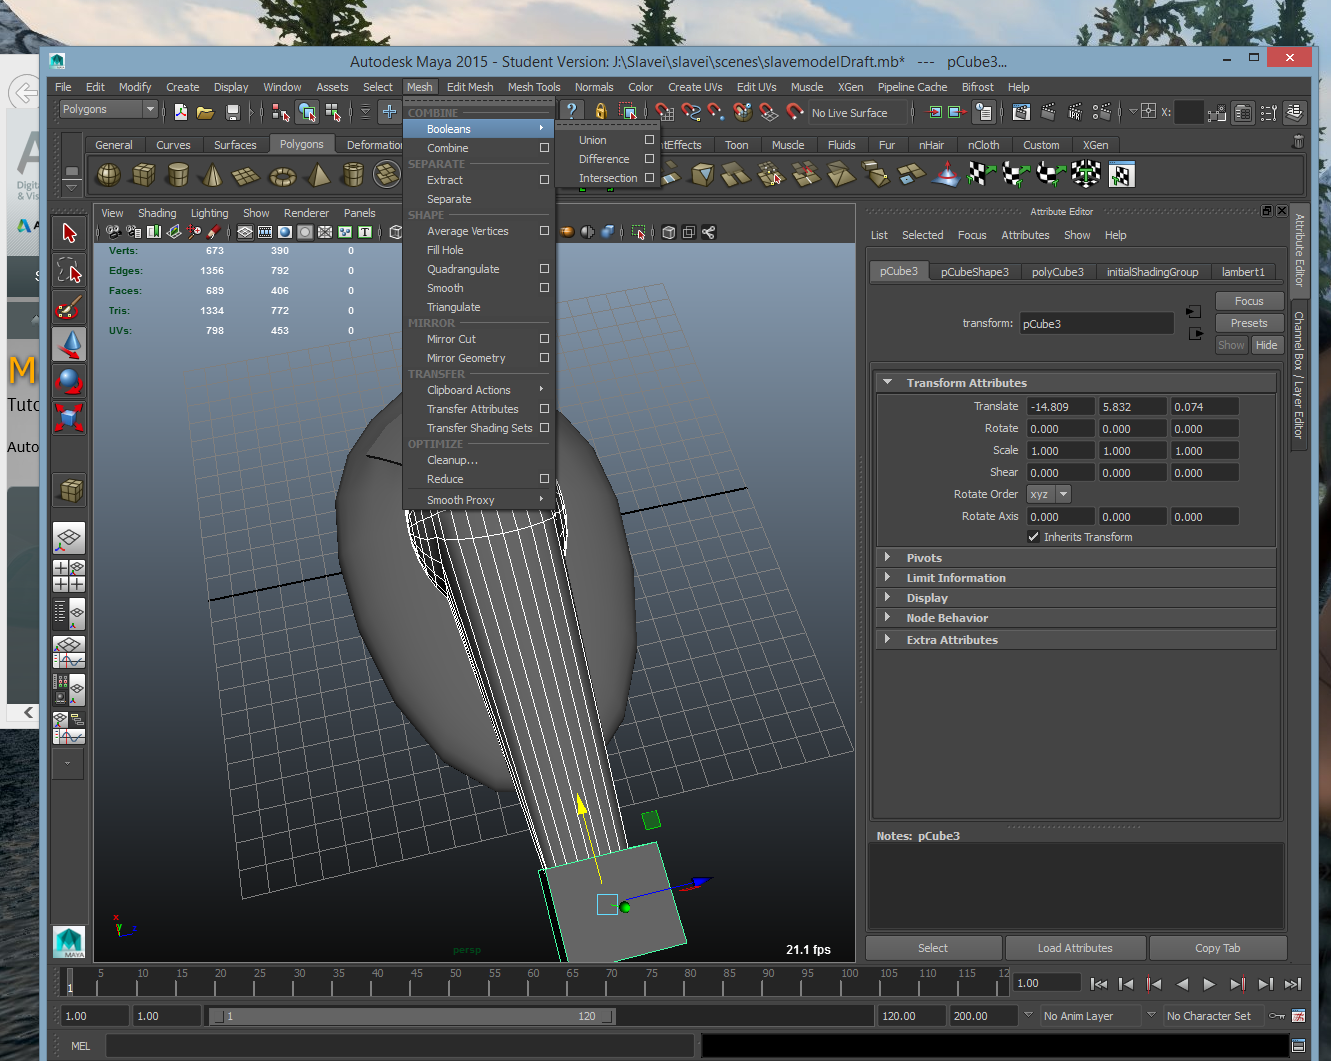
| Then using a cube and the Boolean - Difference method i cut off the end of the part of the sphere i had just dragged out. This however incresed my polycount alot. it added lots of edges that were really time consuming to go back and deleted. The shape looked good, however in the future i will use the boolean difference tool with care as it tends to increase my vertices count alot. |
.png) |
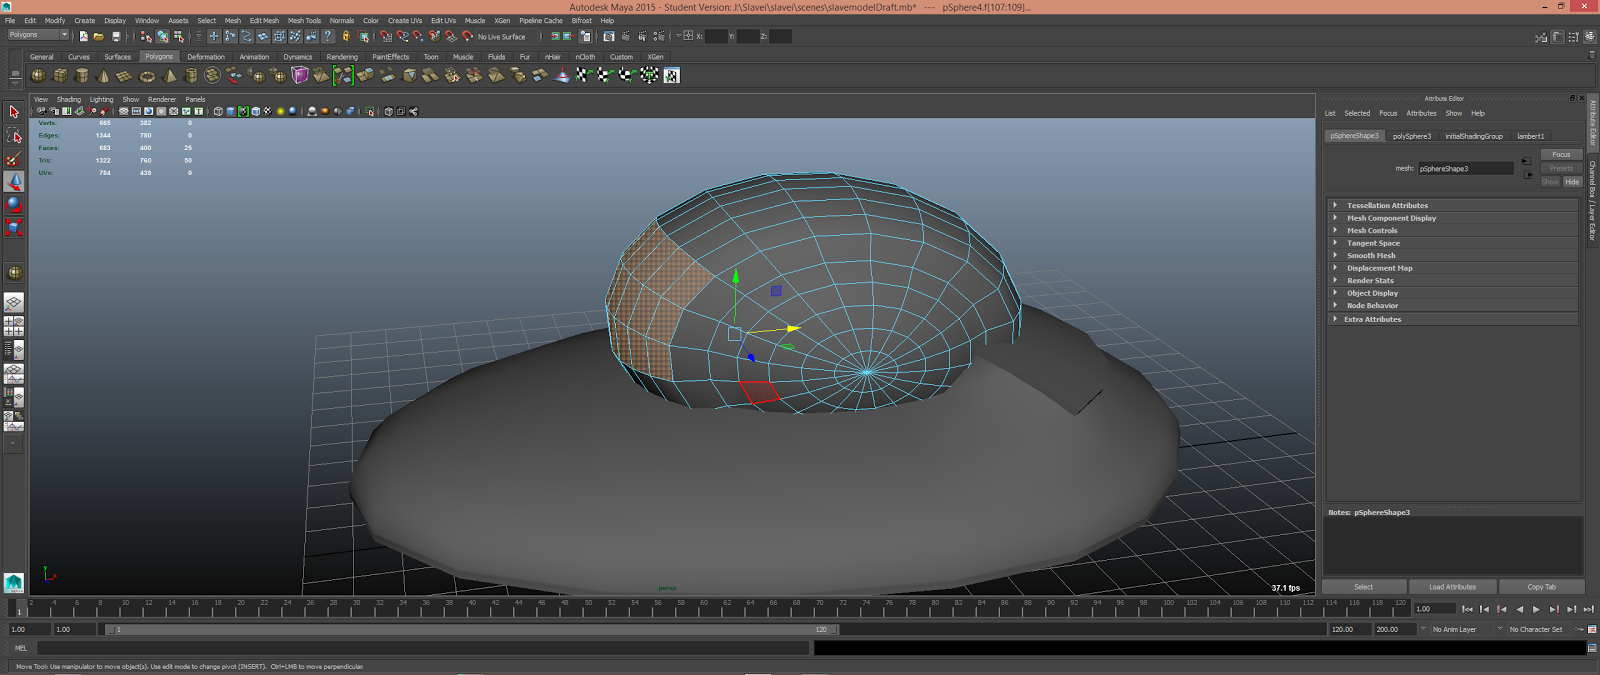
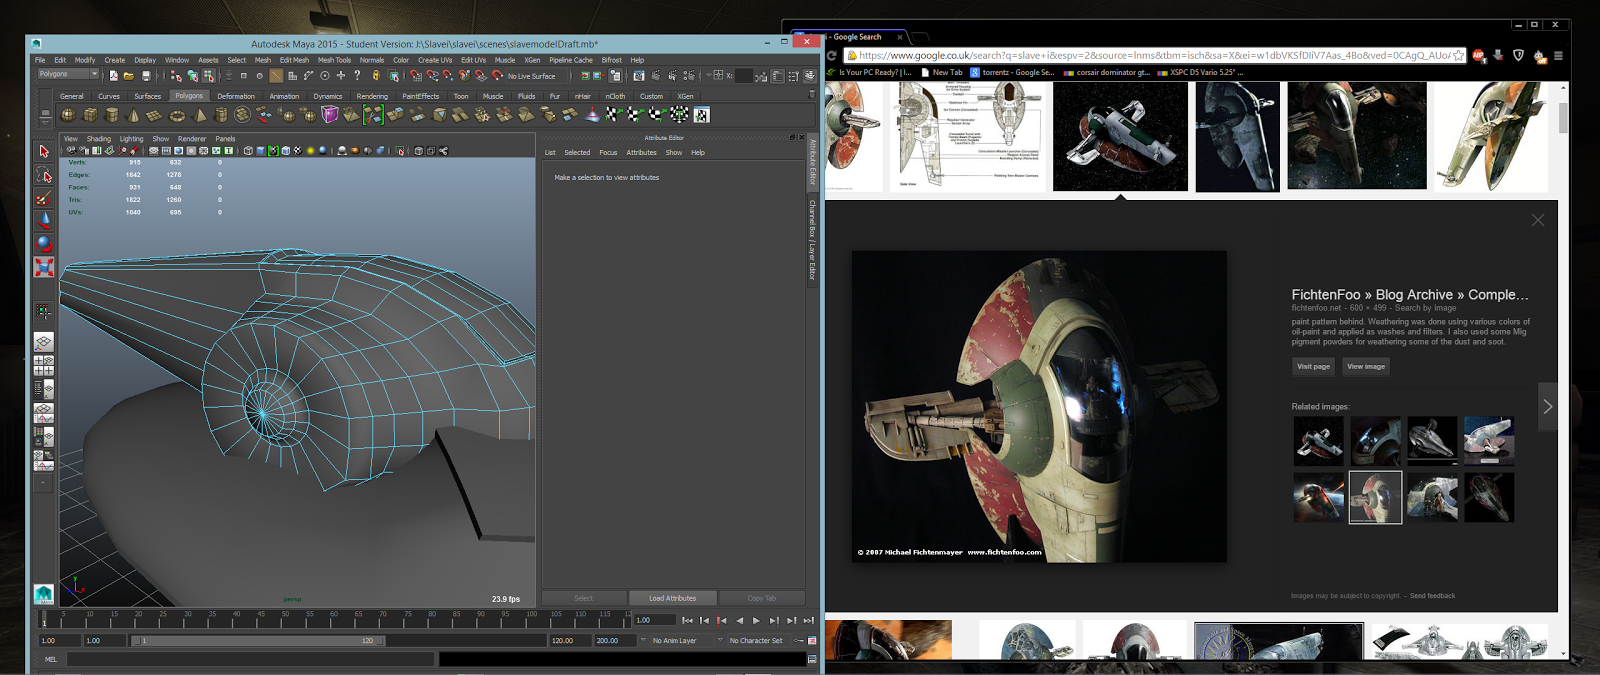
| Then using the Multicut tool i cut the shape of the cockpit into the sphere, i then selected those edges all around the outline of the cockpit and used the bezel tool to create the frame of the cockpit, i then selected the faces within that outline and extruded them in slightly to create the cockpit. I used the Bezel tool as it saved alot of time compared to cutting the edges again, manually |
.png) |
| I then selected a circular pattern of faces on each side of the main body of the ship and scaled them outwards. that created this part of the model. |
.png) |
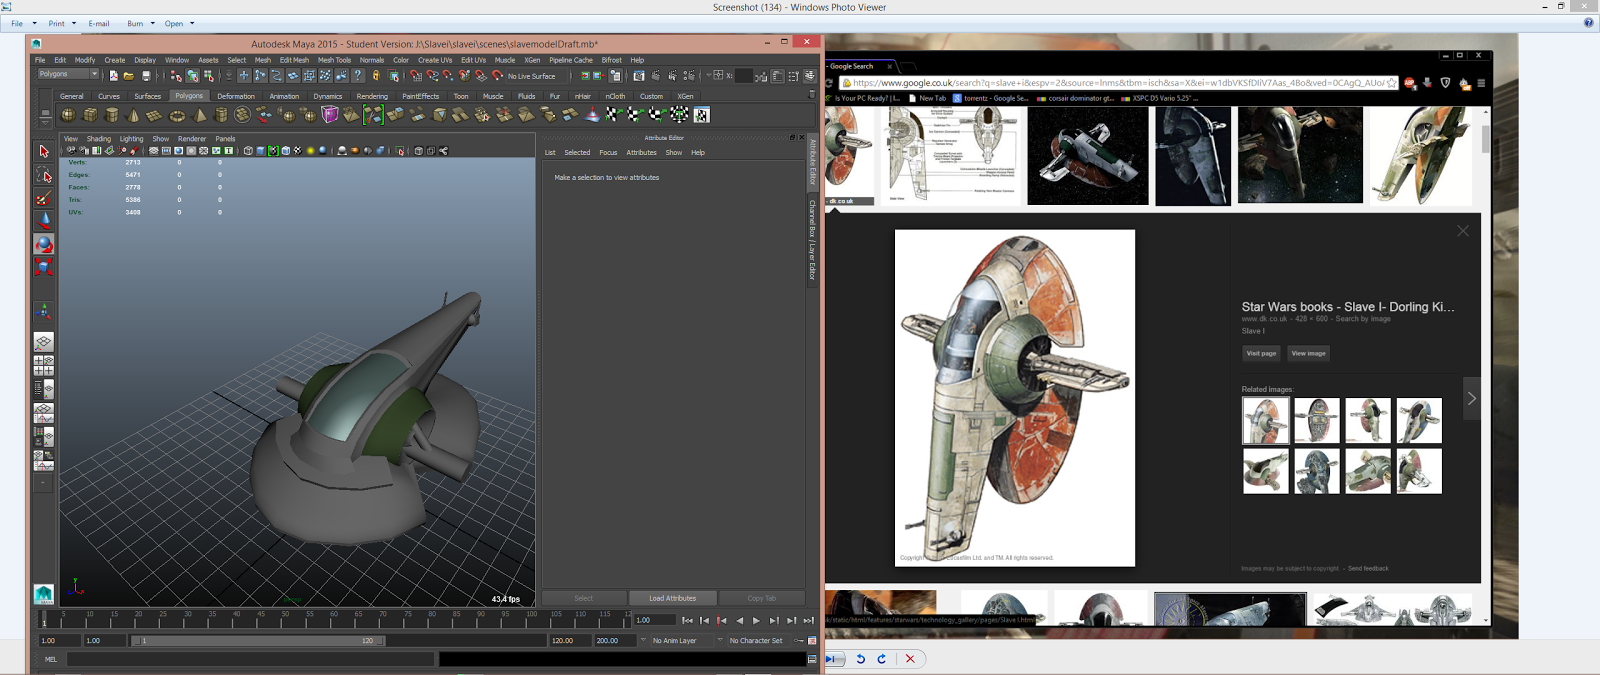
| I then selected the edges around the middle and moves them inwards to create the pronounced centres |
.png) |
| The model is now starting to look alot like the ship, i just need to add wings and details |
.png) |
| the base of the ship is slightly cut away under the wings to do this i selected the edge you can see highlighted in the picture and scaled it down until it created the shape you see below. |
.png) |
| Cut away for wings |
.png) |
| Next i created the struts for the wings, by making a cylinder, rotating it 90 degrees and placing it running through the main body of the ship, i also used more cylinders rotated 45 degrees as the support struts. |
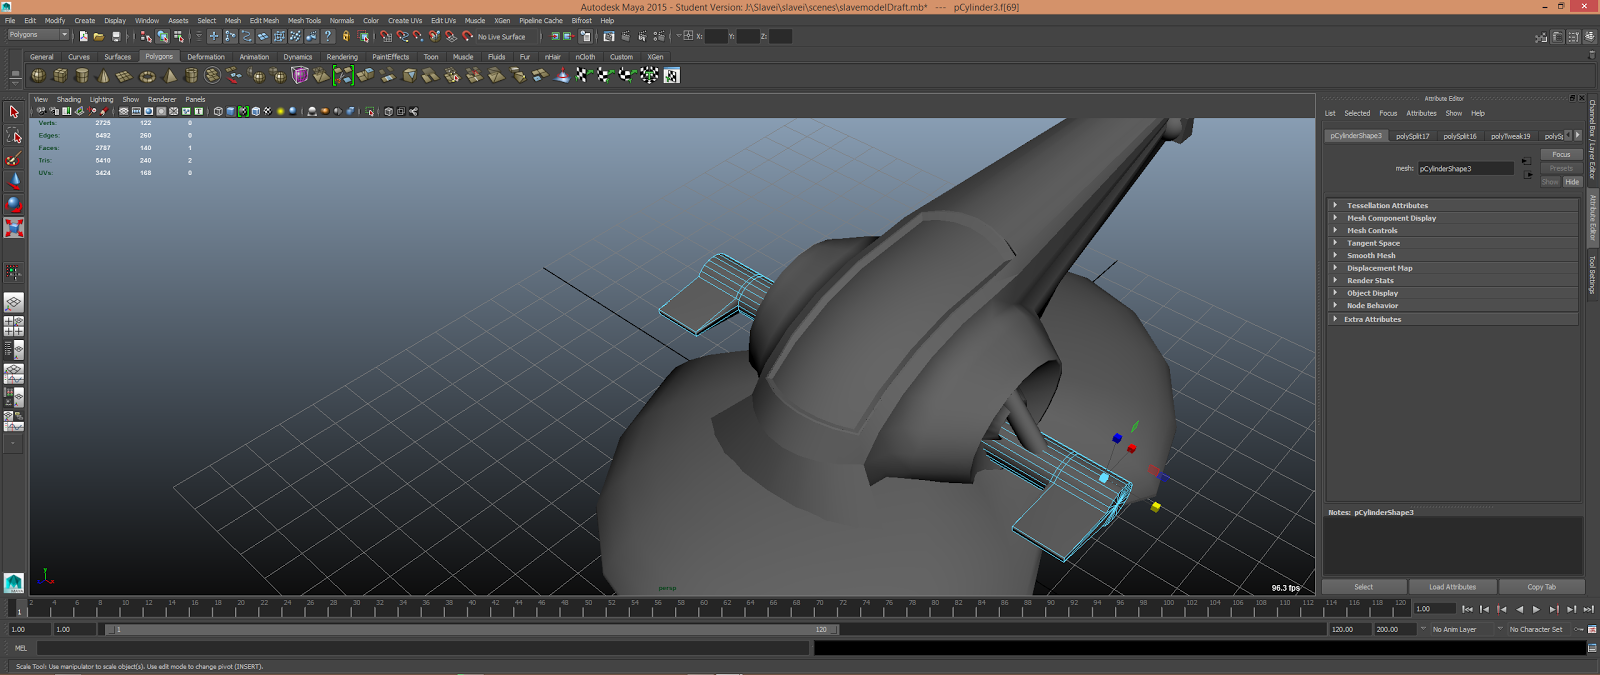.png) |
| Finally to create the wings i added circular cuts to the cylinder using the Multi-cut tool and control. Then i selected the corresponding face and extruded them to create the wings. I also added some details like the guns on the ship just by using spheres and cylinder. Also i added some details on the underside just to create a more detailed bottom side. |
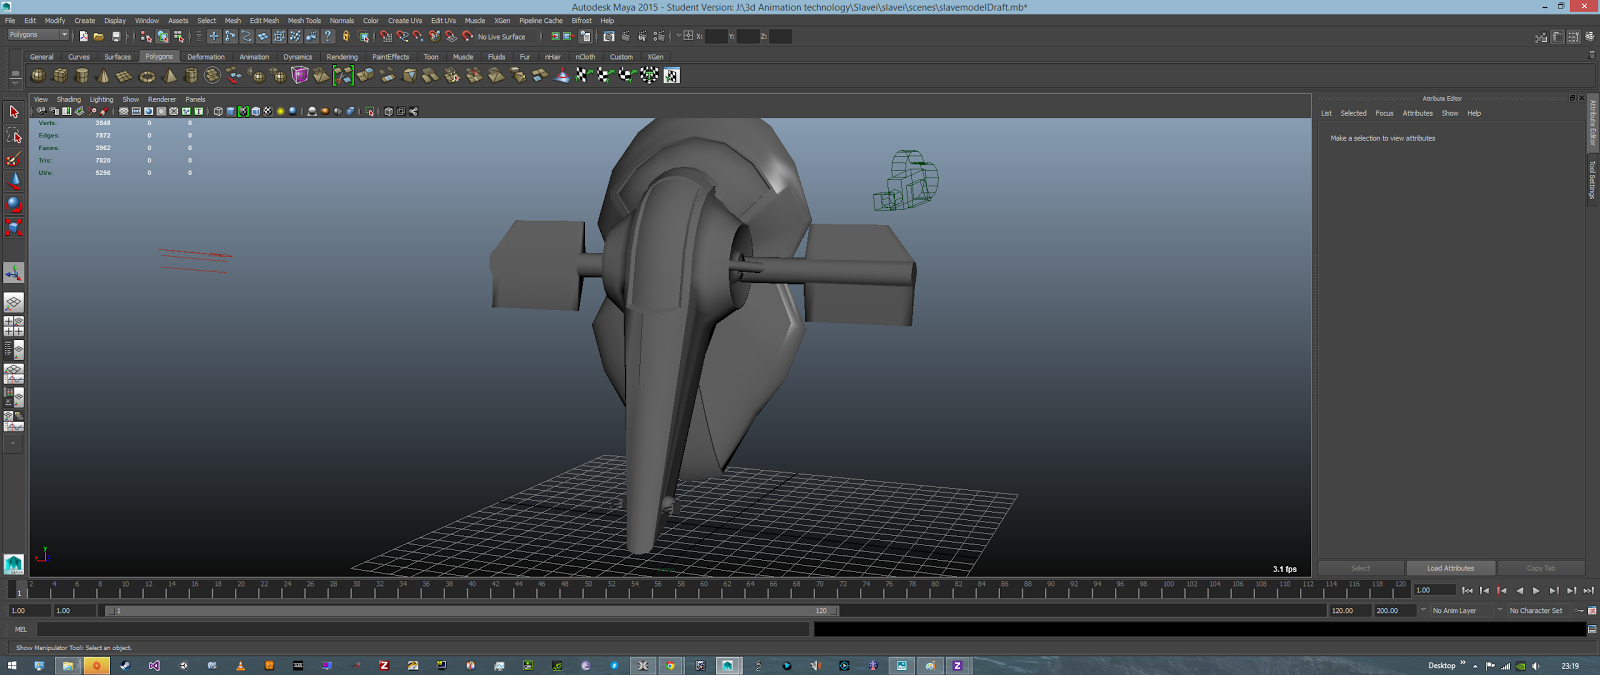.png) |
| The Finished model |
Textureing Slave I
The textures used for this model are again taken from the Internet with the sources provided, In the film Salve I looks really battered and old so i specifically tried to get old, rusty, decaying looking textures. Again I'm reusing some of the textures that i applied to my other models, and will be mostly using the Lambert materiel, as i am aiming for an old, worn look. however the parts in green, and rust brown i wanted to be a bit shiny so used the Blinn material. The cockpit like the xwing and tie fighter are plain black anisotropic.
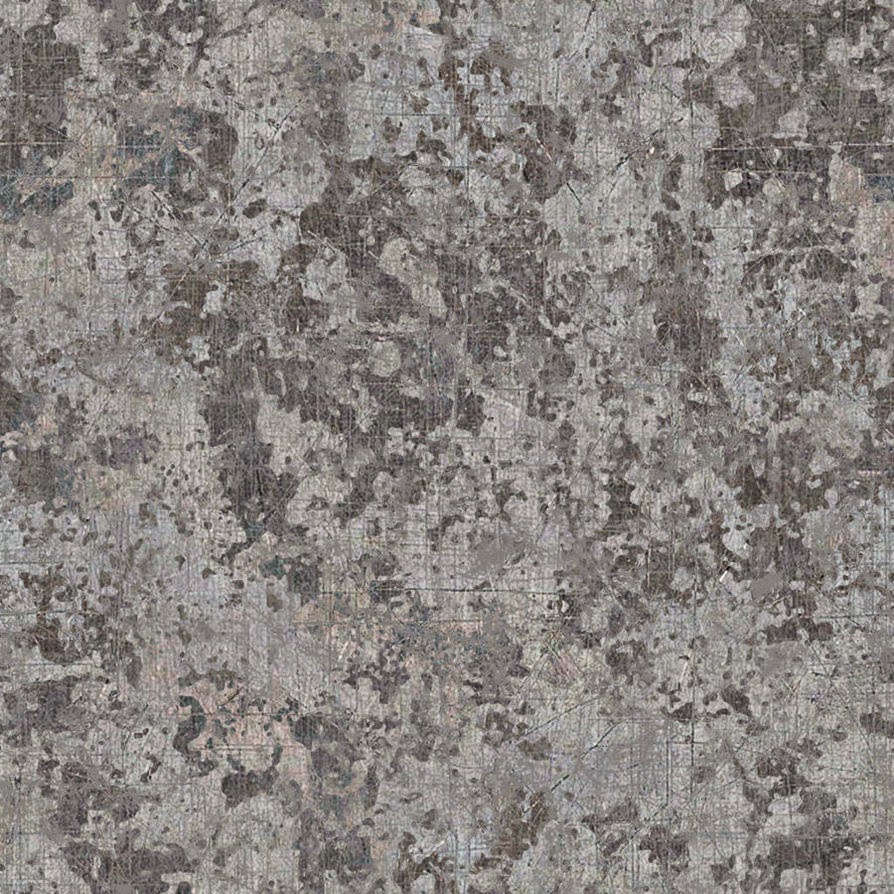 |
This texture will be applied to some of the mainbody of the ship and really looks old and worn
source: https://blogger.googleusercontent.com/img/b/R29vZ2xl/AVvXsEgT3TauKxNDajF06XV5_RpzalcGN6axFh2qPbFtAybGSJqHO2eX0OXHILKBKG7y09bfwtTXAsuGAzMWQT82JgmfB_jbPoyZLYtf1-Qyn8ws-evyaH2l5LSqqbdyn8uVq-nLzz9igbiWYA/s1600/Tileable+eroded+scratch+metal+texture+background+03.jpg |
 |
This texture is also going to be used for the main body and looks really good and decayed.
source: http://www.texturepalace.com/gallery/metal/0405/8metal_texture_big_100405.jpg |
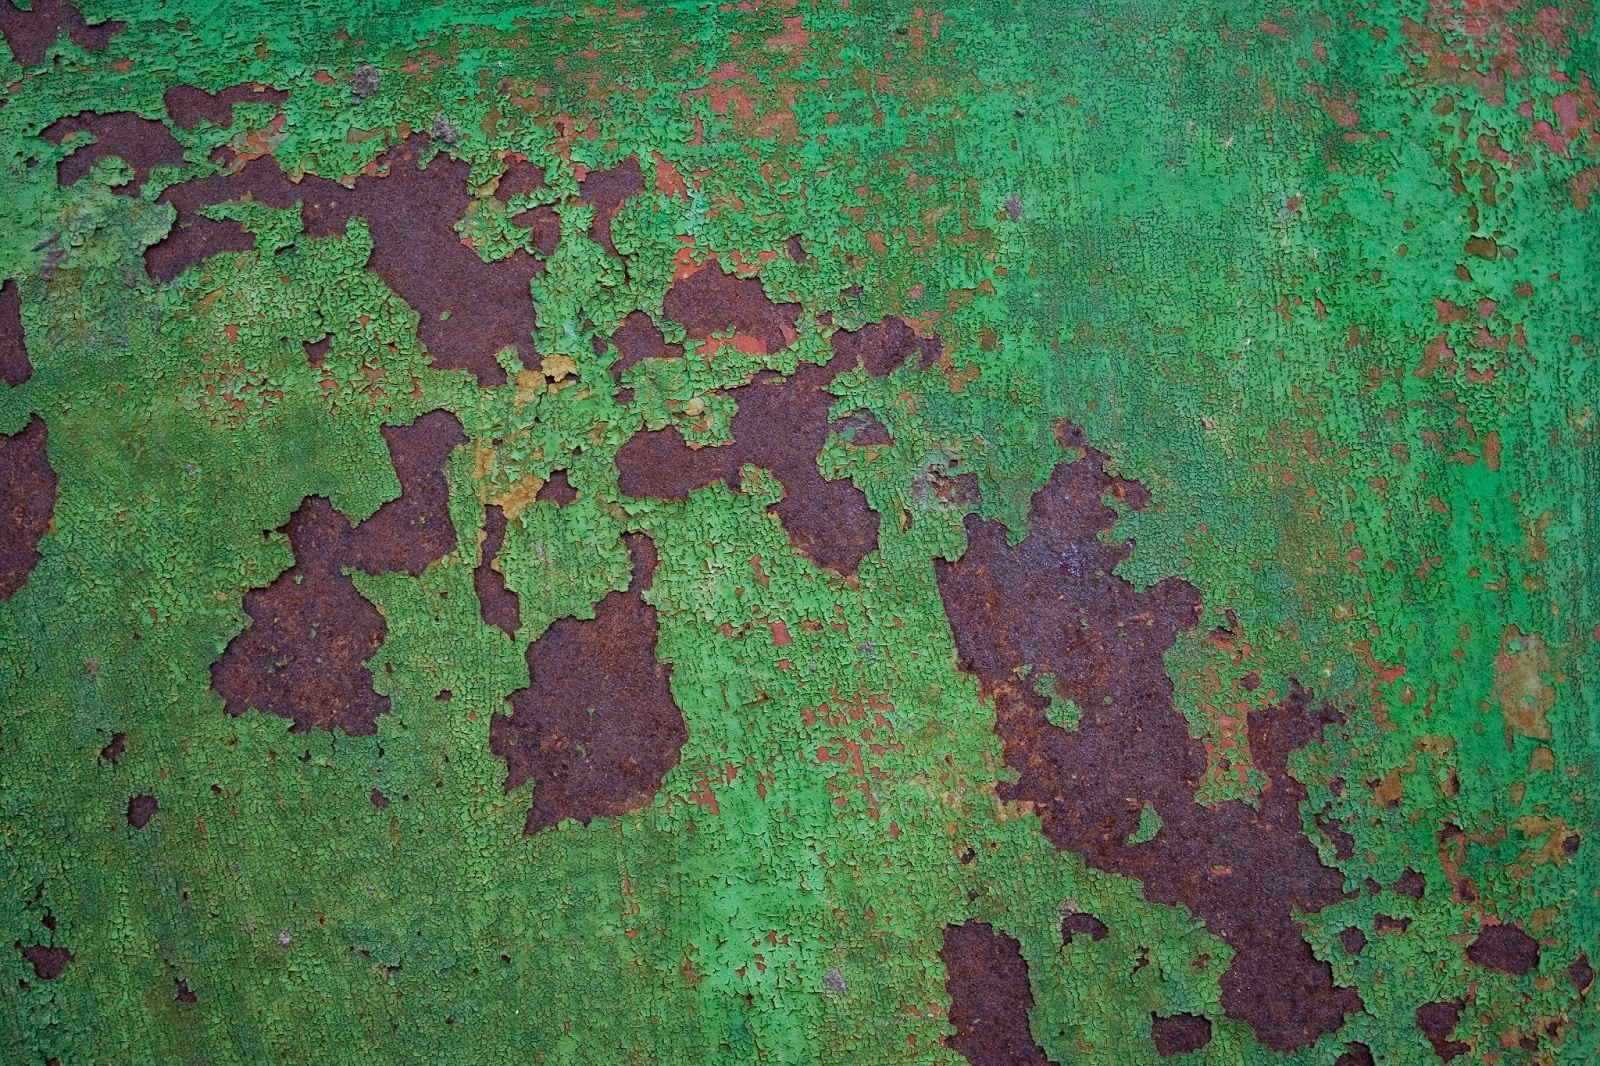 |
This texture will be used for the two domes either side of the cockpit
source: http://www.texturepalace.com/metal-rusty-metal-free-stock-textures/ |
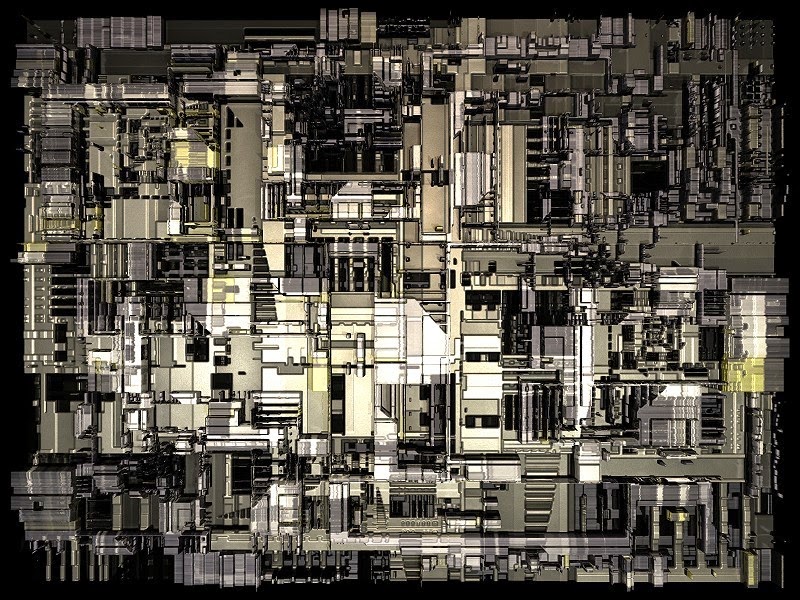 |
This texture will be used for the wing struts and inside the domes either side of the cockpit
source: http://www.nuinu.su/art/318-fraktaly-yeto-iskusstvo-11-foto.html |
.jpg) |
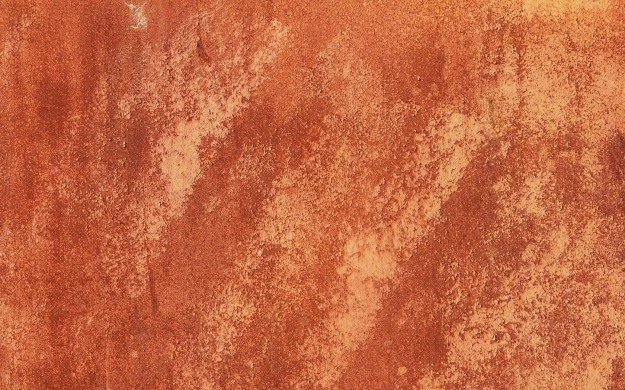
this texture will be used for the lip that runs around the outside of the base
source: :http://volpuri.ru/phh/37/rzhavchina_tekstura_rzhavyy_oranzhevyy_poverhnost_shershavyy_prev.jpg
|
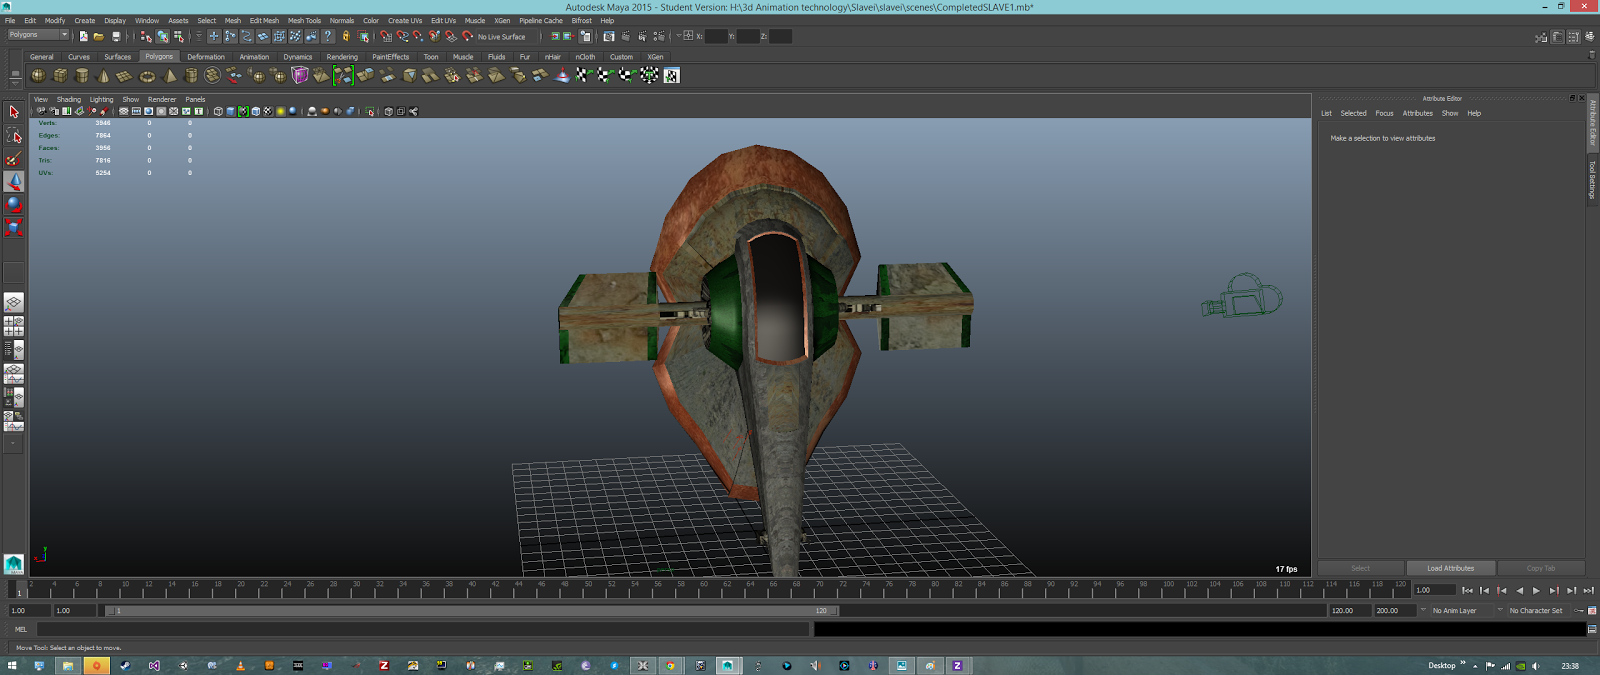
The Finished model
.png) |
| Once i had mapped all the textures using the create UV- planar mapping tool, the final result looked really good. The ship defiantly look aged and worn like i intended and is by far my favourite out of my three models. |
Like the other three i created an anisotropic material with a glow affect to simulate the engines and on this model i think it look especially cool.
.png)
No comments:
Post a Comment