Finishing X wing Model
Now that I have the basic shape of my X-wing I can now start to build upon that and increase the detail. The first step was to add some more edges around the cockpit, as at the moment it is not very pronounced. I used the Multi- cut tool to add edges around the cockpit and then by selecting and moving those freshly made edges i was able to shape the main body and create a cockpit section. I did this while looking at a X-wing image, and matched the perspective.

I then Added some More detail to the engines by firstly duplicating them, then scaling out the duplicates to make them a little more detailed I then created a pipe shape a little bit smaller than the front face of the engines and then used the Boolean - difference tool to cut into the engines
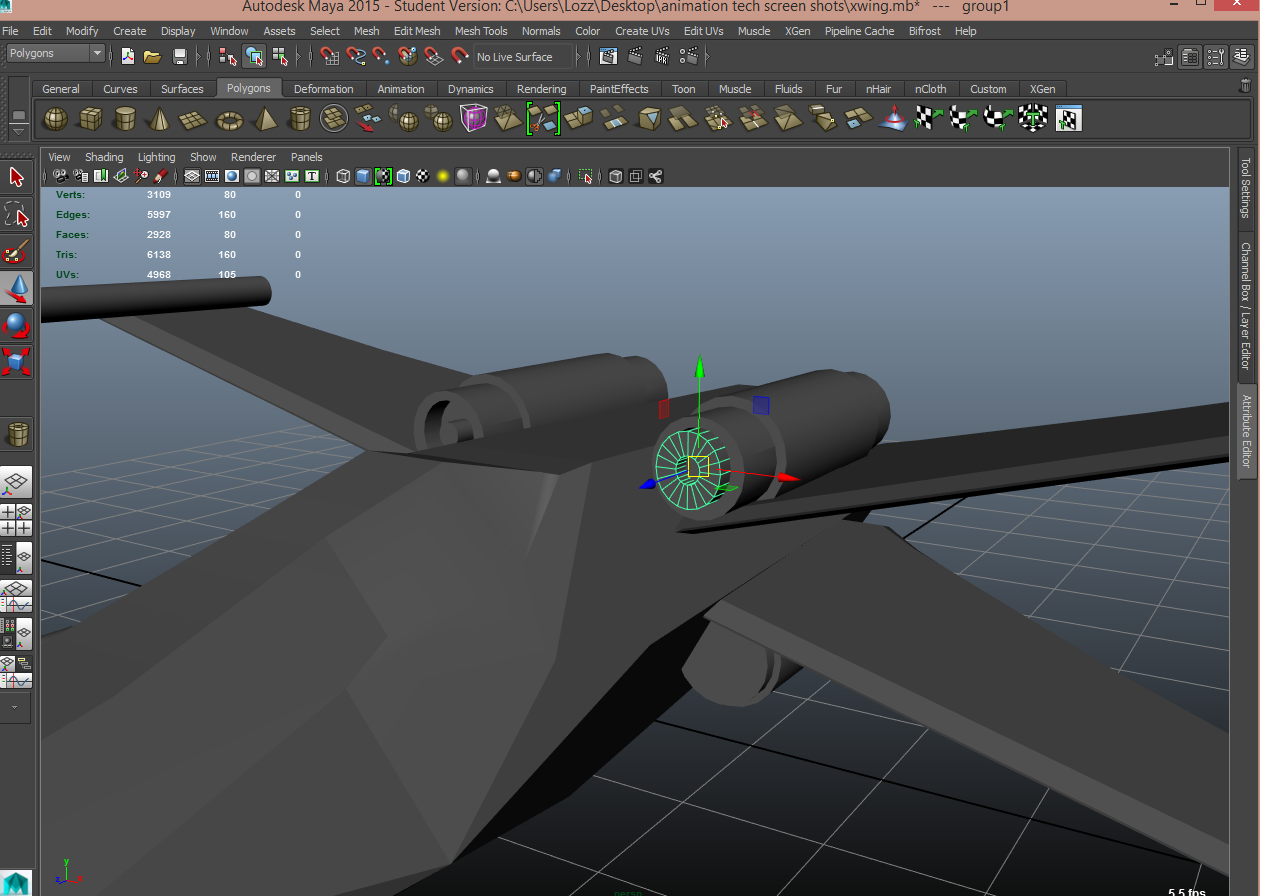
I was able to achieve a cool shape with the engines by literally playing around with the faces I selected. I selected alternating Faces around the engine cylinder and the moved those faces forward and it created a nice shape for the engine.

Next I made the cockpit more pronounced by adding more cuts, using the multi-cut tool and adding the frame for the cockpit glass. Then i deleted the edges in-between the cockpit frame so that it was one face. I then selected that face and extruded it to make it more pronounced.
.png)
.png)
The model now has truely taken on the form of the X-wing and now the bulk of the model is completed i can go round and and extra deatils, like the R2D2 robot on the top, the exhaust and other small details. To show how i finnished off the model I will just use screenshots with brief captions.
Finishing off the model
Once id finished adding all the last touches the model was completed and for my first try at making a detailed 3d model i was very pleased with how I got on.I think i messed the wings up a bit and there may be some overlapping geometry there, but all in all i am really happy with how it turned out, now the next step is to texture it.
Next I made the cockpit more pronounced by adding more cuts, using the multi-cut tool and adding the frame for the cockpit glass. Then i deleted the edges in-between the cockpit frame so that it was one face. I then selected that face and extruded it to make it more pronounced.
The model now has truely taken on the form of the X-wing and now the bulk of the model is completed i can go round and and extra deatils, like the R2D2 robot on the top, the exhaust and other small details. To show how i finnished off the model I will just use screenshots with brief captions.
Finishing off the model
 |
| I selected the rear face here and then clicked extrude and then scaled it down then extruded it inwards |
 |
| To create this missile cutaway I created a cylinder and then used the Boolean - Difference tool to cut this out |
.png) |
| I inserted struts in the engines by creating a cube and scaling it then using Boolean-union to combine the meshes |
.png) |
| I added the exhausts to the engines, the exhaust were made the same way the engines where by using the extrude and scale tool |
.png) |
| By adding lots of cuts to the wings and then selecting the faces and pulling them up i was able to flesh out the wings more |
.png) |
| The Nose Piece was created out of a simple cube poly, whicj i added some cuts to and shaped it into the right shape. i had originally used the extrude tool and Multicut tool on the end of the main bosy mesh, howver as seen below it looked horrible and i had lots of overlapping geometry so i just cut it all off and then stuck this nose nose on the end. |
.png) |
| How the nose looked before...far to complicated and messy |
.png) |
| The finished model |
No comments:
Post a Comment